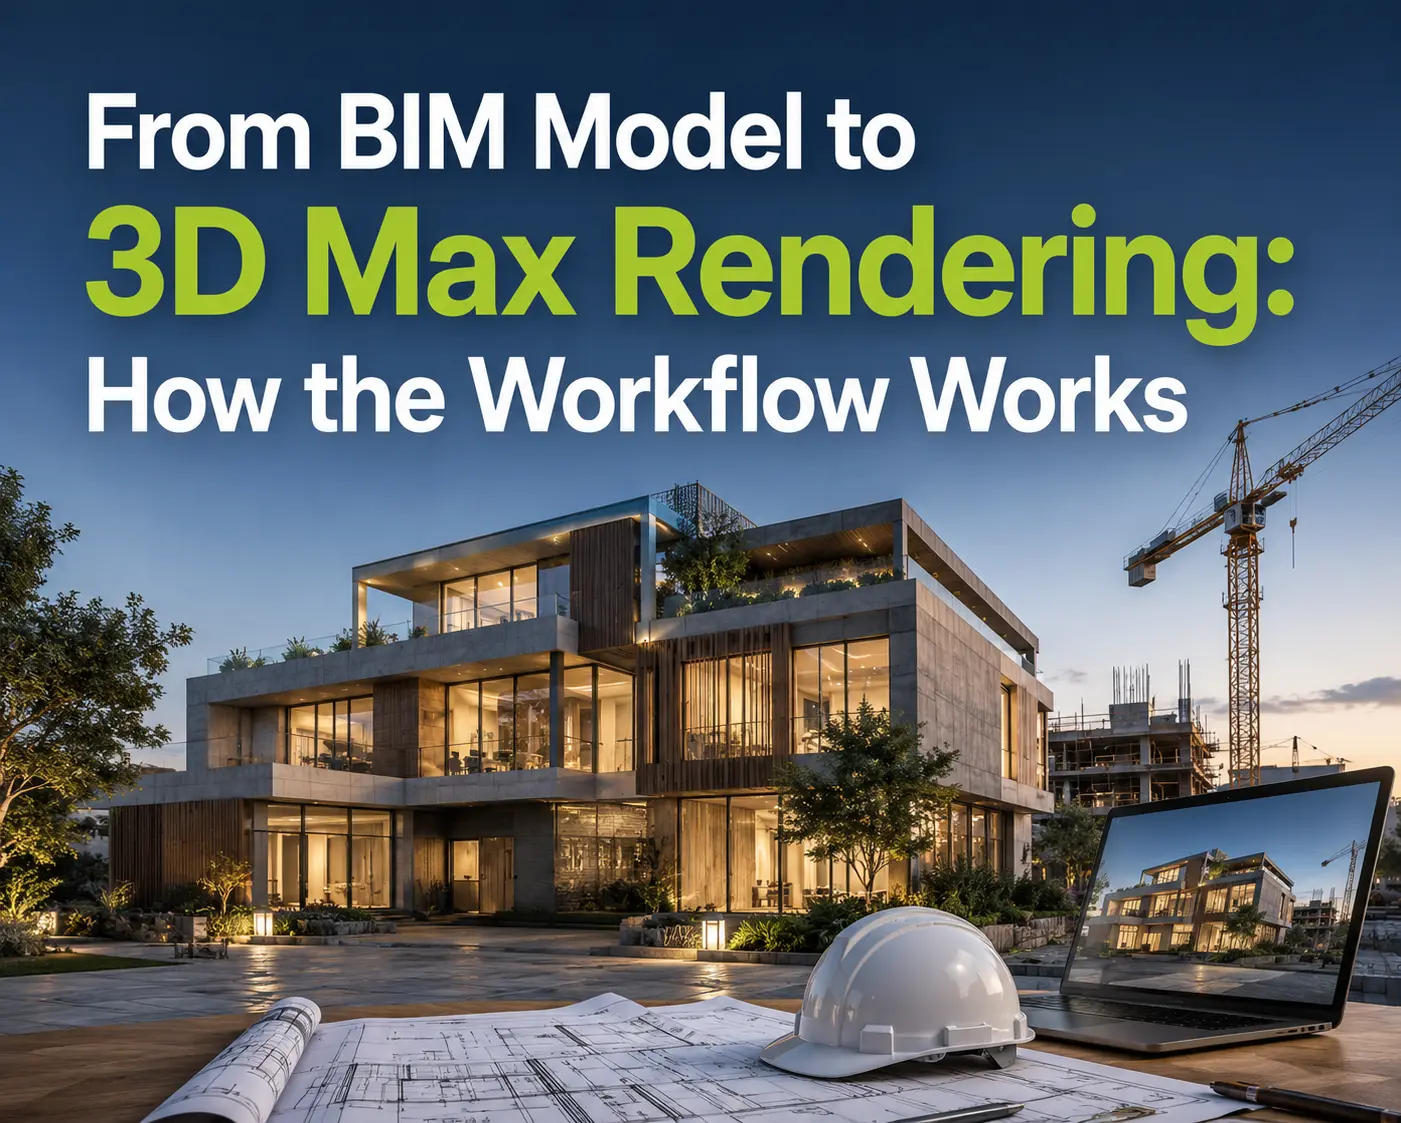
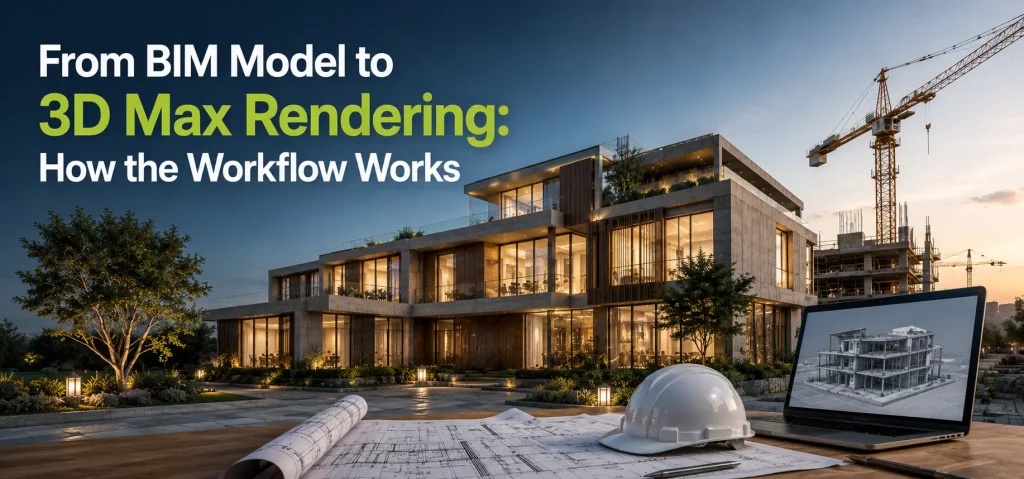
An architect has a detailed BIM model of a new commercial building. Walls, floors, doors, windows, and furniture are all in place, along with plenty of technical data behind each element. But the client wants something different — they want to see what the finished building will actually look like. That’s the gap between a BIM model and a finished visualisation. The model gives you accurate geometry and design intent. Turning that into a photorealistic image is a separate workflow, and it usually runs through Autodesk 3d Max Rendering.
Why Use a BIM Model for 3D Visualization?
From where a base has been established in the form of the existing BIM model, there is a lot of effort saved. The size, relation to space, and other aspects of architecture have already been set up in the model.
Good BIM Modeling Services produce models with consistent geometry and reasonably organized data, which makes the handoff to visualization smoother. That said, a BIM model built for documentation and coordination usually still needs some reworking before it’s ready to render — it wasn’t built with cameras, lighting, or materials in mind.
Step 1 — Review and Prepare the BIM Model
Before anything gets touched in 3d Max Rendering, the model gets reviewed. This isn’t about redesigning the building — it’s about understanding what you’re working with.
The review typically looks at:
- Model completeness and missing elements
- Geometry accuracy
- Unnecessary or redundant components
- Model organization and layer structure
- Existing materials and visibility settings
- Overall level of detail
The goal at this stage is simple: end up with a model that’s clean enough to build a scene around, without losing the architectural details that actually matter to the presentation.
Step 2 — Import or Transfer the Model to 3d Max Rendering
Once the model is reviewed, the relevant geometry gets brought into Autodesk 3ds Max. How this happens depends on the source BIM software, the file format used, and what the visualization pipeline is set up to handle — there isn’t one universal process that works the same way on every project.
This stage is really the starting point of 3D Max Rendering work, not the finish line. Geometry that looks fine in a BIM authoring tool doesn’t always translate cleanly — scale, orientation, and grouping often need adjustment once everything lands in the new environment.
Step 3 — Clean and Optimize the Geometry
BIM models are often loaded with information that’s essential for documentation but irrelevant for a rendered image. This step trims that down.
Typical cleanup work includes:
- Removing geometry that won’t be visible or relevant to the render
- Correcting material assignments carried over from the BIM file
- Reorganizing object hierarchy for easier scene management
- Optimizing heavy or overly complex geometry
- Verifying scale and orientation
- Keeping the architectural details that define the design
Skipping this step tends to cause slow viewport performance and messy scenes later on, so it’s worth doing properly the first time.
Step 4 — Add Materials and Textures
That is when the building gets some reality to its model form through material assignment of real world components such as concrete, glass, wood, metals, stones, flooring, walls, and fabrics instead of the dummy materials of BIM model.
This process is not just about selecting a texture map; reflectivity, roughness, translucency, and interaction with light contribute significantly to the realism of a 3D Architectural Rendering. A glass facade and a concrete panel would require totally different materials settings for their realistic representation in the final 3D Max rendering.
The table below gives a quick overview of how these stages fit together.
| Workflow Stage | What Happens | Main Purpose |
| BIM Model Review | Check geometry, elements, and model organization | Prepare reliable source data |
| Model Transfer | Bring relevant geometry into 3ds Max | Establish the visualization scene |
| Geometry Cleanup | Remove or optimize unnecessary elements | Improve scene performance |
| Materials & Textures | Assign realistic surface appearances | Improve visual realism |
| Lighting | Set natural or artificial light sources | Create realistic illumination |
| Camera Setup | Position cameras and define views | Establish the final composition |
| Rendering | Generate the final image | Produce the visualization |
| Post-Production | Adjust image details and presentation | Refine the final output |
The exact sequence and tools used can shift depending on the project, the source software, and what the client actually needs delivered.
Step 5 — Set Up Lighting
Lighting is what brings either believability or a sense of failure to a scene. Lighting studies for daylight, interior and exterior lights, and shadow studies on the façade all have their effect on the perception of the scene.
Good exterior lighting of a view during the golden hour will tell quite a different story from an equally good rendering done in the middle of a day. Reflections off windows, internal lights, and time-of-day effects will influence our perception of the material and the space.
Step 6 — Position Cameras and Create Views
The camera shot selection determines what the audience perceives from the design itself. Views from the exterior, interior, aerial, eye level walkthrough, wide shot, and close up are all used for varied reasons.
Camera choice isn’t just about finding an attractive angle. A good visualization team picks views that communicate the design intent clearly — showing how a lobby connects to an entrance, or how a facade reads from street level, matters more than just making the image look dramatic.
Step 7 — Rendering and Post-Production
After everything is set with regard to materials, lighting, and cameras, the scene goes on to be rendered. This is normally started by rendering some low-res tests to see how the materials and lighting look.
After the scenes have been created in their final form, they normally undergo post production, which involves color correction and adjusting contrasts and other details. It is common for most firms that provide professional 3D Max Rendering Services to view this step as equally important to the rendering process.
Where Architectural Visualization Fits Into the BIM Workflow
BIM and visualization aren’t competing processes — they support different goals on the same project.
BIM primarily supports:
- Modeling and documentation
- Coordination between disciplines
- Information management
- Construction workflows
Visualization primarily supports:
- Design communication
- Client presentations
- Marketing materials
- Design reviews and visual understanding
Firms offering Architectural Visualization Services usually work alongside the BIM process rather than replacing it, translating the technical model into something a client or stakeholder can actually respond to.
Benefits of Using BIM Models for 3D Max Rendering
- Faster starting point for scene setup
- Better consistency between the visualization and the actual design
- Less time spent recreating geometry from scratch
- Easier updates when the design changes mid-project
- Clearer communication with clients and stakeholders
- More realistic representation of the proposed building
- Stronger design presentations for reviews and approvals
None of this is automatic — how much time gets saved depends heavily on how clean and well-organized the source BIM model was to begin with.
What Can Affect the Final Rendering Quality?
A good render depends on more than just the software. Several factors stack together:
- Quality and accuracy of the source BIM model
- Geometry cleanup and optimization
- Material and texture selection
- Lighting setup
- Camera composition
- Rendering settings and resolution
- Post-production work
- Overall level of detail carried into the scene
Weak inputs at any one of these stages tend to show up in the final image, no matter how capable the rendering software is.
Conclusion
The workflow, start to finish, runs like this: BIM Model → Model Preparation → 3d Max Rendering → Geometry Cleanup → Materials → Lighting → Camera → Rendering → Post-Production.
A BIM model provides accurate geometry and real project information. Autodesk 3d Max and the visualization process built around it take that information and turn it into an image people can actually respond to — something a client can look at and understand, long before the first wall goes up. How good that final image looks depends on both halves of the equation: the quality of the source model and the care put into the visualization process itself.